We have been given 63 pages based on the magna Carter which we have learnt more about in the church where our project will be exibishioned later this year we can choose any type of freedom on these prices of paper which are 10cm x10cm we can use allsorts of techniques and media to create the freedom topics. We have also been to the civic of an exhibition of posters from different wars going on around the world these where the photos I took.
We then had a talk on the holocaust and we had to draw symbols and pictures the represent the holocaust. Here where our group pictures.

for my front page which will be at the top middle of my display I used my own design and imagination, for the birds and the chains I used coloured pencil because that media works well on parcel paper. for the writing I have cut out letters in black paper. I l think this is effective because you have on the paper the two opposite of something that is almost completely free t something that stop you from doing anything. and also I have spaced the letters so it looks like the slowly breaking away.
for this section of pages my freedom title was women's rights and the suffragettes this was one of my main topics because I think its a big importance to freedom because the things that women's could do now to what they could do now has changed dramatically and things wouldn't have changed if it wasn't for the suffragettes and other women's rights campaigns.
page 1: for my first page I took the picture of the two women holding the sign which I have done in pencil, and then got a picture of railings which I did in fine liner and mixed it up a little so I could get the important times in this period so I added the chains.
page 2: for the second page I took a part from a women's rights magazine and did it in water colour. if I was to do it again I would sew two of the pages together so I paint the whole thing.
page 3: for my third page I got a picture from pinterest.com of a girl and all words ripped up from a magazine coming out of her mouth so from that idea I got my own magazines and changed words to words linked to women's rights.
page 4: for this I got the picture of the internet and then did my own version of it in white pencil.
for these three pages I have just done freedom in general because I thought it would be good to draw just symbols of freedom instead of something in history or some modern day problems, for the first one I have used watercolor for the background because there the best to blend and also for the jar and butterfly's. for the second one I have used coloured pencil for the sky and grass and then water colour for the fence. and for the last one I have built paper up and the painted in watercolor over the to it gave me a different finish in the end.


for this section of pages I have chosen poverty I think this is important because it promotes the poverty charity's and its a big problem in Africa, also its not far from us and we don't always realize. for my first page I have cut out extra pieces of paper to make a world and a glass of water and then painted them I like it because the design has come of the paper so it different from just doing a drawing on the paper. my second one is a house which I did from my imagination and then under the house is a plate in a gutter, I really like it because I really think its effective because your used to seeing a drainer so it makes you think what life is like for people living in poverty.
my third page is a written Moodle of words linked to poverty I tried to do different styles of writing to make it interesting. I really like moodles because there isn't a lot to read but all the words you need are still there. finally for my last page I have done a copy of Oxfam which is a massive charity for poverty so I think its a good way to show off charity's it might even persuade people to help or donate which for me would be a great feeling. I have done a collage of paper at the back and the used acrylic for the symbol and writing.


for this section I have done slavery which is more of a historical trap of freedom but is still happening today. for the first square I have done a silhouette of a black slave and drawn chains over the top like his mine is trapped, they didn't have freedom to say anything or think anything. and then I took a quote from Harriet Tubman and put that down the side. for my second page I took a picture which had the birds and the bird and the cage which I have done in acrylic and then the quote by Abraham Lincoln. for my third page I have taken another quote form the internet
and the picture which I have done in coloured pencil and water colour. for the last page I have took a picture of a hand which I have done in acrylic and then I have gone over it in white pencil And then a key which I have done in watercolor and white pencil.


for this section I have choose to do two on freedom of speech and two on freedom of thought I think its important because there is still a lot of people around the world who do not have the choice to say what they want or show they feel and some are forced to think certain stuff so I think that its important that this should be a freedom to everyone. for my first page I have took a picture from Pinterest did a study of it in acrylic. for my second page on the background I have done the union jack in coloured pencil and then over the top I have put a quote from Winston Churchill talking about freedom of speech. for my third page I have done a picture off Pinterest I like it because I think its effective how they have used the microphone but the bottom is a bird cage, I did the study of it in pencil. for the last page for the background I used brusho inks and then for the birdcage and the writing I used fine liner.


for this section I have chosen right to a free education I think this is important because I think every child deserves a right to an education because they deserve the best opportunities as possible and if they want to miss that opportunity that's up to them nut it shouldn't restrict anyone. for my first page I have done a collage of bright coloured paper because its can be fun and gives you a bright future. I made it like a petition sign because there are many petitions that go on around the world for a free education. for the second page I have used paint I have also made this one Abit like a petition sign. for the third page I have done a colorful Moodle of words linked to education and then using extra paper a watercolor magnifying glass zooming in on education because its the most important. for the last page i have done the drawing in watercolour and the writing in fine liner.


For this section I have chosen right to free health care I think this was important to do because it's something that everyone needs and it shouldn't be an advantage for wealthy people and not for the poorer its what ever human deserves so I want to promote this as a freedom. For my first page for the background I did the stippling effect on the tissue paper in water colour and then added a Martin Luther king quote over the top in fine liner. For the second page I have done a stethoscope in water colour and then cut the sides to change the shape so there not all just squares. For my third square I have done a study of the caduceus in water colour and then for the writing took another piece of paper and added a split pin so you can move the paper something yet again a it different. For the last page I have done the British Red Cross on watercolour I really like using watercolour because it blends really well and really stands out on the small prices of paper, for the writing I have taken a protest quote and done it in fine liner.


For this section I have chosen gay married or civil partnership I think this is important because unlike a lot of the other projects that where many years ago this is only something in the past months has changed and even though you can get married now before they where criticised which is been taken away from freedom when we are supposed to live in a free country. For my first page I have cut out with extra paper two women and then stuck some craft hearts on them and the writing in black pencil. For the second page I have done the same but two men and then writing in white pencil. For my third page I have done a heart in magazine and then drawn the man and women symbols and then attached it to the wallpaper by sewing into it. For the last page I have done a quote in coloured pen because it about love and love is happy so that's is what the bright colours represent.


for this section I have chosen to do martin Luther king and the African-American civil rights movement. this is a huge historical period on freedom because it was an entire race that where trapped in their own country. for my first page I have taken one of martin Luther kings speech's and put each line into a speech bubble using extra paper to make it more creative then just writing it in the square. for my second page have done a painting based on the scene of Rosa parks where all the black people had to stay at the back and the white people had the rest of the bus. I have then added one of Rosa parks quotes. for the third page I have used another martin Luther king speech and to make it different I have wrote it around the page. for the last page I have taken another speech from martin Luther king and added behind it a microphone to represent that it is a speech, I have done it in pencil so the writing over the top stands out.


for this section I have chosen to do freedom to religion choice I think its important that no one is forced into a certain religion and can chose which one is right for them. for my first squares I have chosen a picture form Pinterest to show them breaking away from religion to do this I have used water colour. for my second page I have used acrylic over the top of tissue paper and then painted the religious symbols over the top in black acrylic. for the third page I have cut out in extra paper a picture of a few of the religious symbols and stuck them over my square. for my final page I have done a sign post represent all the different directions you can go in religion and that it should be all your choice.


for the section I have chosen war and conflict, today it is peoples choices to go to war but years ago women where not aloud to go into conflict and many men where forced to go in during ww1 amd ww2. so I think its important to show how it has changed. for the first page I did scrafitto so the peace sign would stand out more. and then cut out the middles of the piece sign. for the second page I took one of barrack Obamas quotes on war and conflict and used watercolor. for the third page I did a study of banksys work and used coloured pencil. for the final page I used a more up to date poster which is used for remembrance day I used coloured pencil and then added an extra piece for the slogan.


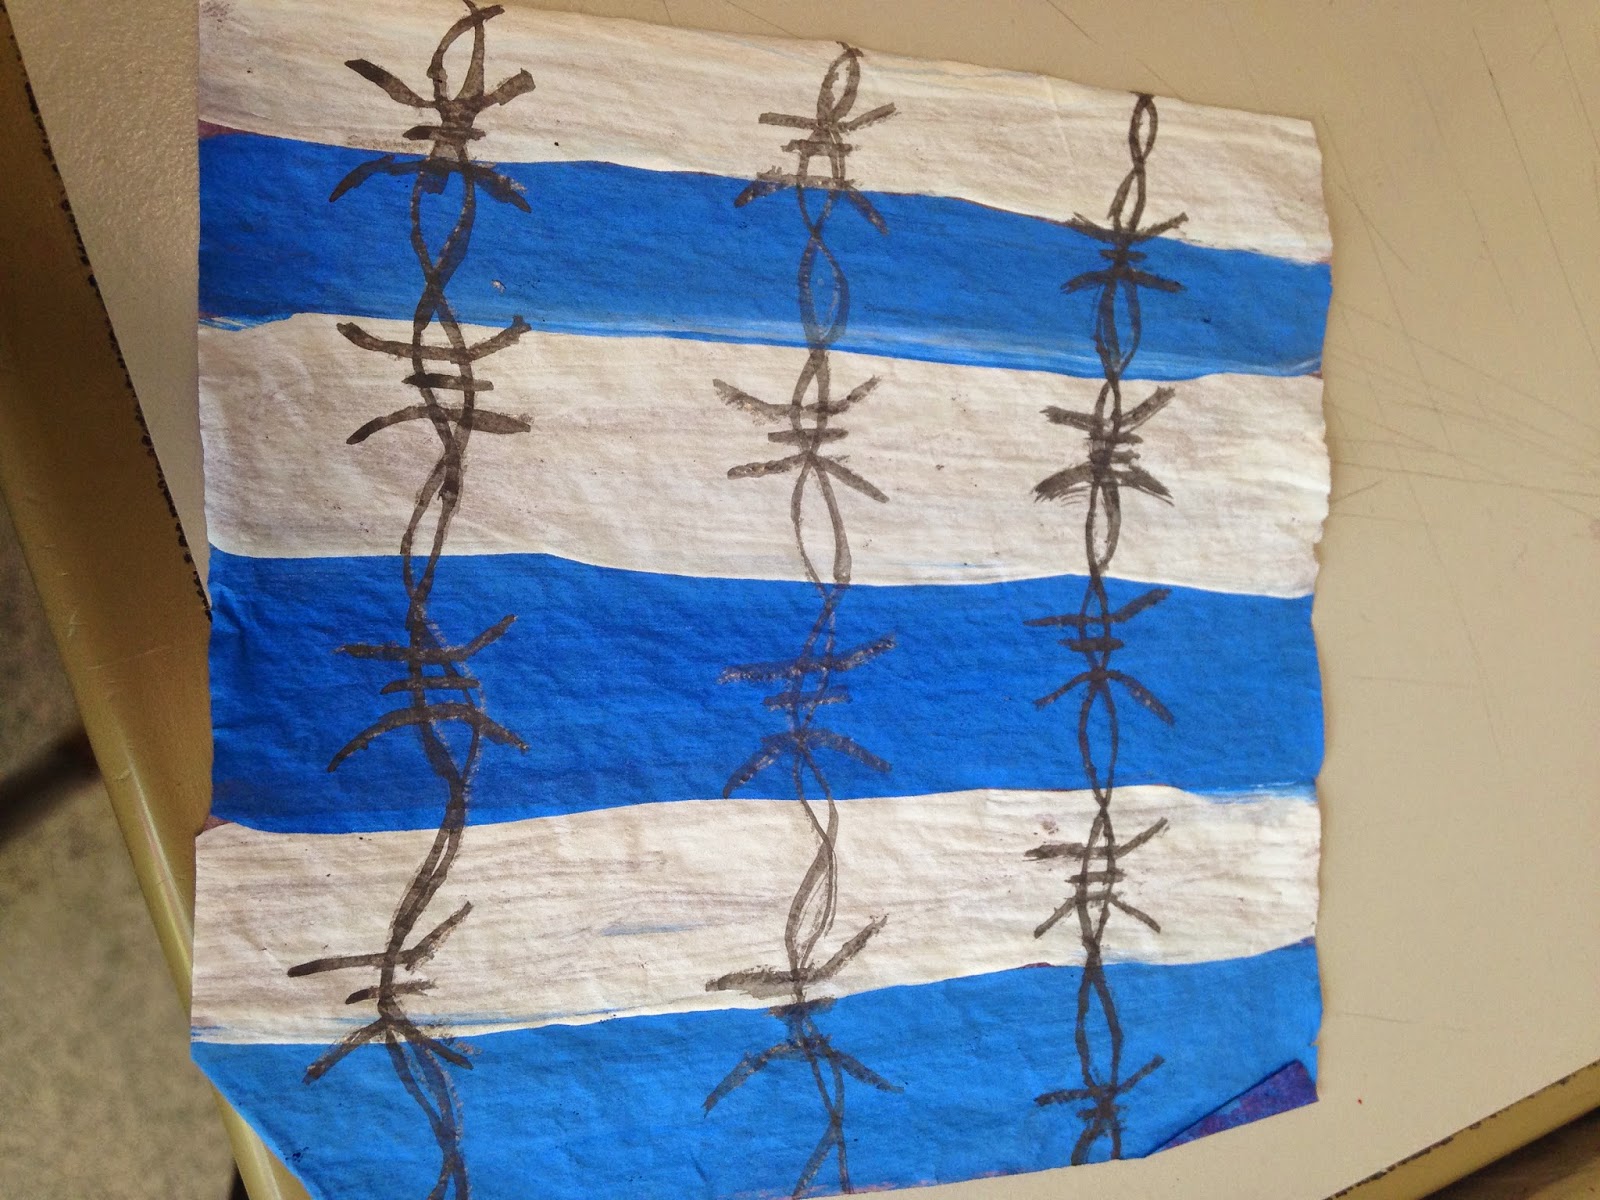
for this section I have chosen the holocaust this is important because millions of Jewish people where killed just because of there religion. for the first page I have done a Moodle of words linked to the holocaust in different coloured pens. and then cut out extra piece of paper to make the work holocaust in the middle. For my second page I have done the Jew sign made out of barbed wire in biro. for my third page I have taken the idea form a holocaust poster and used pencil for the writing. for the fourth one I have done the blue and white stripes in watercolor to represent what the Jews wore in the concentration camps and then added the barbed wire in black pencil which was what was holding them. for the last one using extra paper I did a copy of the stars that the had on there pajamas to tell them they where Jews because they didn't have names anymore.


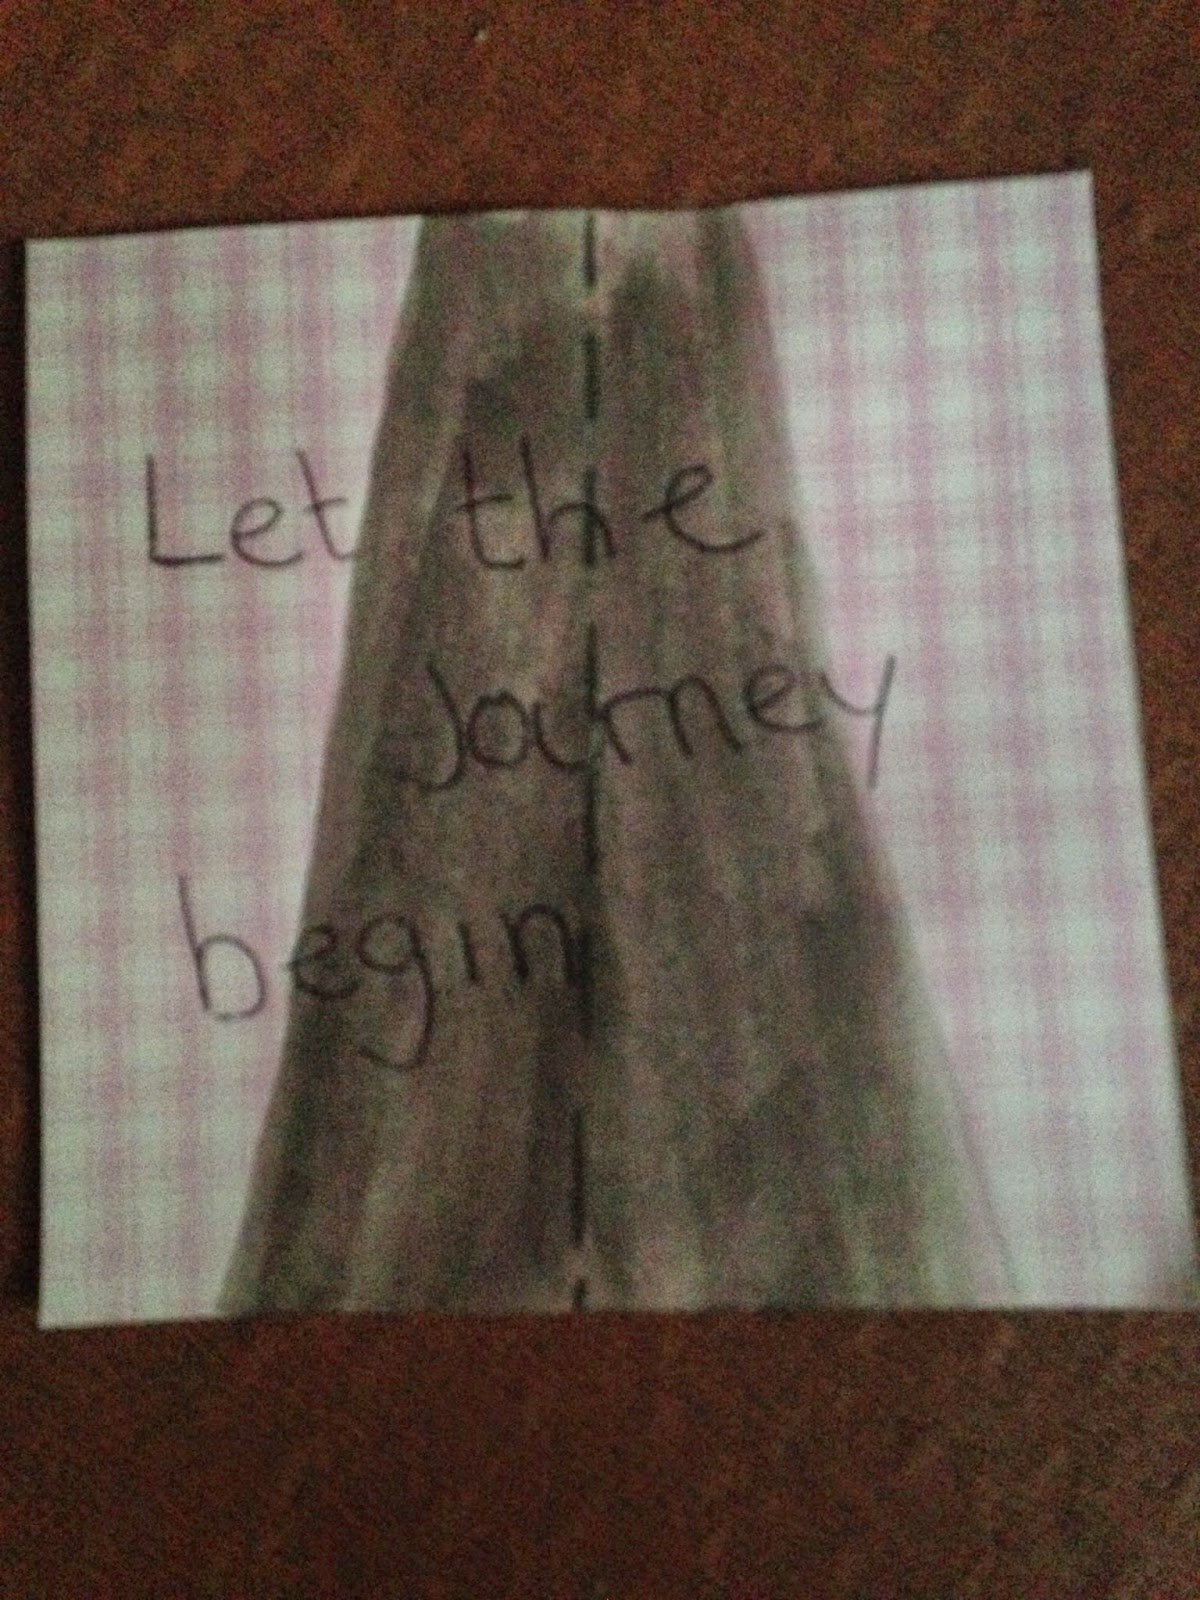
for this section I have chosen freedom to travel because its a great opportunity to travel the world and understand the world better. For my first page I have done a balloon in watercolour and the writing over the top in watercolour too. For the second page I have used a extra peice of paper to make a world and then painted it in watercolour. For my third page I have taken an idea from arrows going in different directions in watercolour. For my third page I have done a sign post showing all the different direction your can go to explore the world I have also done this in watercolour . For the last page I had taken a picture of a road which I have done in colour. I then added my own slogan over the top.


For my last section I have chosen animals freedom because some animals are still capture for example fur, meat, and tusks for my first one I have done a selection of sillohette animals using extra prices of paper and then wrote over the top using white pencil. For the second page I have done a copy of the rspb logo using watercolour. For my third page I have done a sillohette of a cat in watercolour and then added bars in front to show that the cat is trapped. For my fourth page I have done the logo for the animals rights campaign using watercolour. For my last page I have taken a picture of the paw using watercolour. And then added my own title.
For my final peice I have decided I want it to be based around paper crafts because I think my self to be good at messing around with smaller objects and making them something detailed and unique. To give me an idea I research paper crafts and found three artists Tracy busy, su Blackwell and Jennifer collier.
When researching Tracy bush I have found out that her main project is making paper butterflies here is an example of her work.
I like these because even though there isn't a lot of detail or colour they look really dainty and the layering of the paper gives them more of a 3d a effect for my final peice I'm going to do paper butterfly which will go up the board on my display but mine will have colour and will be sewn into and collaged paper onto them to that they are all unique.
My second artist was su Blackwell from doing my research I have found out that she is a 3d scenery paper model using books. I love her work where she has lights behind the paper to show of shadows and also how she makes buildings and trees. but for mine I like the buttflies coming out of the paper so for mine I'm going to experiment on cutting out butterflies and making butterflies at different levels and then also adding flowers from my own imagination to make it more of a scenery like Blackwell does. This is an example of her work
For my last artists I came across Jennifer collier, she is a paper model and make life size objects just by using paper here is an example
I love the peice because it has lots of detail for example all the buttons and the building up of the lens and I also like how she has used old maps which is surreal but effect at the same time. However I don't think anything like this will work with my idea for my final peice so i will not be taking any ideas from this.
Before starting my real final peice I got one of my old books and tried out what I was going to on the book middle page, first i made the templates for the flowers and then curled them with sissors to give the a more 3d effect and added a button split pin in the middle to add some colour. I them cut out the two flowers out of the book and then painted the page underneath so the flowers would show through. But i realised when it was time to do the real thing I needed to add more detail the flowers and to also move them closer into the book because the side of the pages were ripping. I then cut out my butterflies which would stand up in the page and painted the back wings for some colour. I the cut slits into the book to slot the butterflies in to but the paper wasn't strong enough so I knew for the real thing to add paper to the back to make it stronger. I then added another flower but decided I didn't want that I added a few more butterfly's but realised it was too over crowded. Finally I added a little metallic butterfly just to finish it off. This was my try out peice.

Next I moved onto starting my real final peice. First I started to redo my flower templates because the others where curled up and I didn't want the colour around the petal edge because I think it made them look tacky. I made the same 5 and then added the same split pins I had tried in the practice. I then cut out my flowers that where into the book and made sure they where further in so the pages where not ripping at the sides. I then added my metallic butterfly.

After I made stronger paper templates for my butterflies and painted the body and the back wings. I then put the slits in the paper at the width of the wings and then slotted the butterfly's in and they stood up. I then painted my two flowers which where into the book one idea I had taken from another student who had Lilly's in front of her and the other from my imagination using watercolour. I then on each page cut out too sides of wings but not all the way round so it was only the wings that lifted up and then cut the layer underneath and the layer underneath which when lifting them up gave a 3d butterfly effect. I also painted the body and the back wings. To finish it off I then decided to redo the butterfly's and sew into them instead of painting them, I then painted another butterfly using watercolour and stuck that in the corner and added two more small plain flowers and thus was my final piece.

after to add more detail with my final piece I decided to do moths using photos and paint some realistic butterfly's and then some abstract colorful butterfly's which have been sewn into. I've done this so you have a variety I've also added collage and cut out of them so you can see through the layers of the wings. this was my final pattern which will go onto my board.

for my starting point when it came to 63 squares in groups we did a mind map on all the different words and subjects linked to freedom, I then photographed this so that when I got home I could start planning what subjects I think are most important to address and start doing some research. then on my project proposal I planned what I was going to do each week and how many pages I was doing to make the 63. once I had got through a few of my squares I was starting to think of how I would put them all together so to start off with I was going to put all my squares into a book and then added writing and drawings and other media to it. but when I looked at su black wells work. su Blackwell and Tracy bush have inspired me because I will be taking her ideas when I do my butterfly's which will go up the board because I love the layering of the paper to make them 3d but im adding my own twist to them by making them colorful and sewing into them. and su Blackwell has inspired me because I love how she makes a scene out of the paper craft in the book and how detailed they are when there is no colour or open only sometimes light to create shadows. I decided that it was just going to be the middle page so I can keep it open on a plinth and have other things going off on the actual board. I think the book concept was a good Idea because I love working with dainty things and making them into a objects and also adding crafts to paper but still having a little paint to it the quality of the paper in the book was good for cutting into and using for the flowers and for painting on. but for the butterfly's which where stood up in the book the paper wasn't strong enough for them to hold up. so that is why I added cartridge paper to the back to make it stronger. which made it easier to sew into the paper don't rip. for the butterfly's I was experimenting on them by adding colour, cutting out and sewing into them even though a few of them I didn't leave enough paper around the edge so when i put the needle through it ripped some of the wings.. I think they went well because the all unique and colorful so with my black display board they will stand out in the church. to include some primary research I also have done a few real life photographs and stuck them on the butterfly paper templates to make sure there strong enough. I also printed out a couple of butterfly painting which I had done in my past animals project and stuck them on paper too. I have handled my time management better this time because I planned it properly and I stuck to what I was going to do each week and made sure that I had enough time to do my final piece and sew all my pages together and get all my butterfly's done and make sure that all my works is on my blog. I think the butterfly's took longer than expected so that why I have come in a couple more days than normal into college so I could get them done. I am quite pleased with the outcome because I really like my butterfly's because there colorful and unique, I quite like my book but I think some of it looks tacky so next time I probably wouldn't add paint just the craft materials to make it look more natural I also like how I have added moths so its showing how the butterfly's have evolved plus you can also represent moths coming out of an old book. I finally like the butterfly's as well because on some of them I have used the book paper so it still links in with the book. finally I've really enjoyed doing my final major project on freedom because it gave us a bit more imagination to chose which subjects we was going to put on our pages and what media we think works on which type of papers but next time if I was to do it again i would put the pages on a a4 piece of paper so there Abit more together because I don't like the idea of loose papers so that why I have fastened them together 31 on each side. but I think there going to be too long for the display board. I've enjoyed the book concept but it did take a while to get it right so now next time I know what I need to for example the strength of the paper and adding colour. I've enjoyed doing about the history of freedom and also the future of freedom and how things have changed and i hope that people will be interested and know what the topics are when my display is up but also knowing the freedom of nature.